
If you’re here, you are probably like us. You cherish that moment of popping your favorite record down on your turntable. Sitting in a comfy chair and just taking in the music. But do you ever wonder how that plastic vinyl disc transports you to a place of musical bliss? How is a vinyl record made? How does the music we love get physically pressed into this wonderful physical medium. Well we decided to take a little field trip to a nearby record pressing plant to answer just that.
Contents
- Taking a Tour of A Vinyl Pressing Plant to Demystify the Process
- Why Should Artists Press Their Music onto Vinyl?
- How A Vinyl Record Is Made
- Step 1: Source Material
- Step 2: Mixing and Mastering for Vinyl
- Step 3: Cutting the Master Record
- Step 4: Preparing the Stampers
- Step 5: Galvanics
- Step 5: Pressing the Records
- Step 6: Reviewing Test Pressings
- Step 7: Quality Control
- Step 8: The Record Jacket and Artwork Production
- Record Production Considerations
Taking a Tour of A Vinyl Pressing Plant to Demystify the Process
Many audio enthusiasts are at least somewhat familiar with the process of making a vinyl record. We wanted to take you behind the scenes directly to the source to go through the entire real-life process of making a vinyl record. We took a trip to Microforum Vinyl Record Pressing in Toronto to get a tour and inside look of the entire process.
We wanted to look at the process from a general interest perspective as frankly it’s just fascinating. We also wanted to look at it from the perspective of an artist or band who is interested in pressing their music onto vinyl. We wanted to demystify the process a bit to see how accessible it is as a medium even to an indie band.
Why Should Artists Press Their Music onto Vinyl?
Aside from the intrinsic pleasure of having your music on a physical medium such as vinyl there are some financial benefits as well. Out of all the forms of music your fans can consume, a vinyl pressing is one of the most profitable for bands these days. With fewer fans buying CDs, vinyl is often the best way to sell a physical copy of your music. Streaming is a fantastic way to increase exposure for an artist, but the artist receives little revenue from streaming services.
Even beyond enjoying your music, many fans see vinyl records as a piece of “merch” for a band and buy it to support the artist as a collector’s piece. Finally, and perhaps most importantly, there is the group of music lovers who just prefer listening to music on vinyl and having a record option for them gives them the best way to listen to your music.
How A Vinyl Record Is Made
Step 1: Source Material
To press a great sounding record you need great sounding source material. It all starts a quality recording. To achieve a great sound, you’ll want a high–res file such as a 24-bit 96kHz WAV file. When available, artists or record labels will often go back to older recordings on analog master tapes.
A great debate amongst audio enthusiasts is which is better, analog or digital? Proponents of analog argue there is no compression in that recording and is true to life to what the artist originally intended. The bandwidth of analog is considered unlimited and analog does not introduce aliasing and quantization noise. While those on team digital point out the lower levels of noise and distortion. The other downside to analog and using those original tapes is there can be physical degradation that alters the playback and significant work must be done to restore the recording back to its former glory.
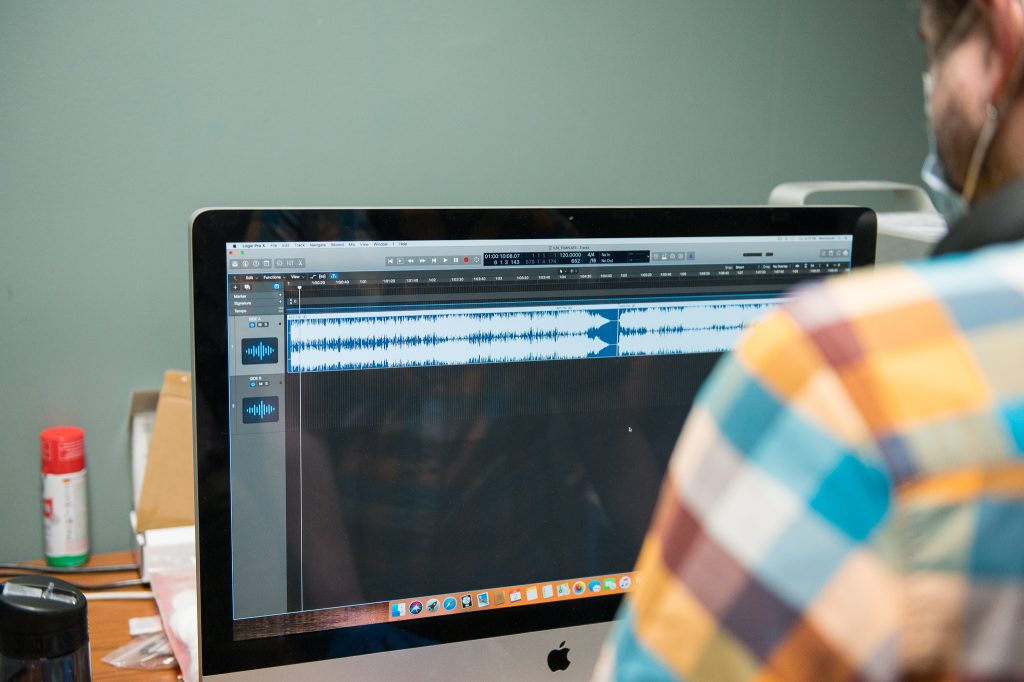
Step 2: Mixing and Mastering for Vinyl
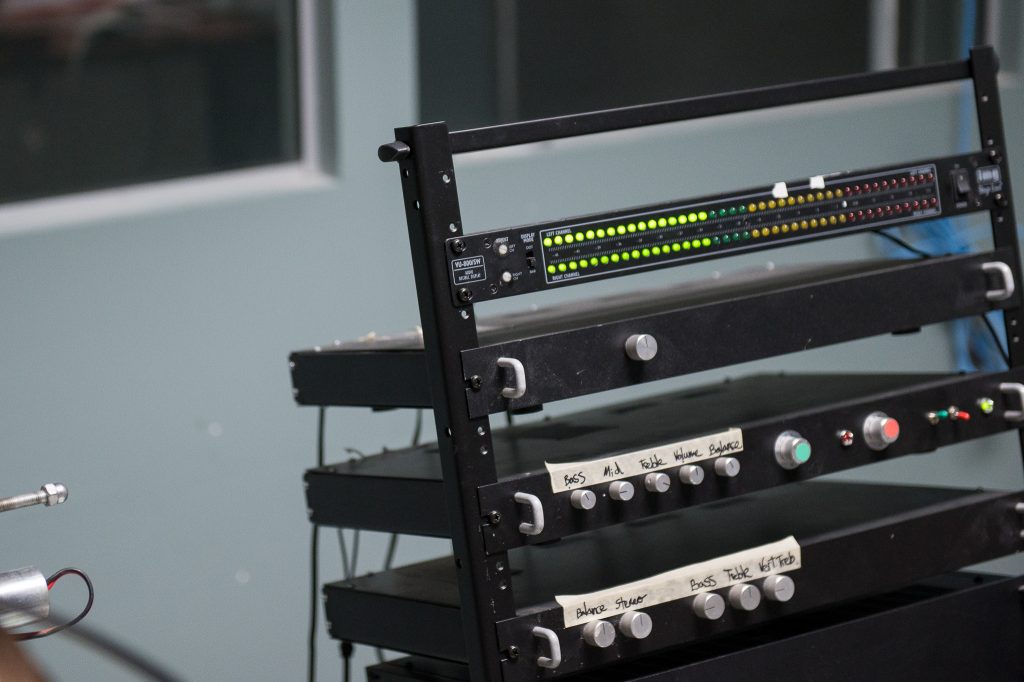
Once you have your source recording sound engineers must master that recording specifically for vinyl. There is a lot of nuance in mastering a recording specifically for vinyl. One of the biggest considerations is the levels for the high and low frequencies. If you have excessive high frequencies or too much sibilance you may encounter distortion as your stylus struggles to trace the fast and complex grooves.
Conversely, overly low frequencies can result in record skipping. This is particularly the case with low frequency stereo imaging which appear as vertical movements in the groove. The mastering engineer typically collapses the low end into mono to allow the record to be cut without severely altering the sound of the original recording.
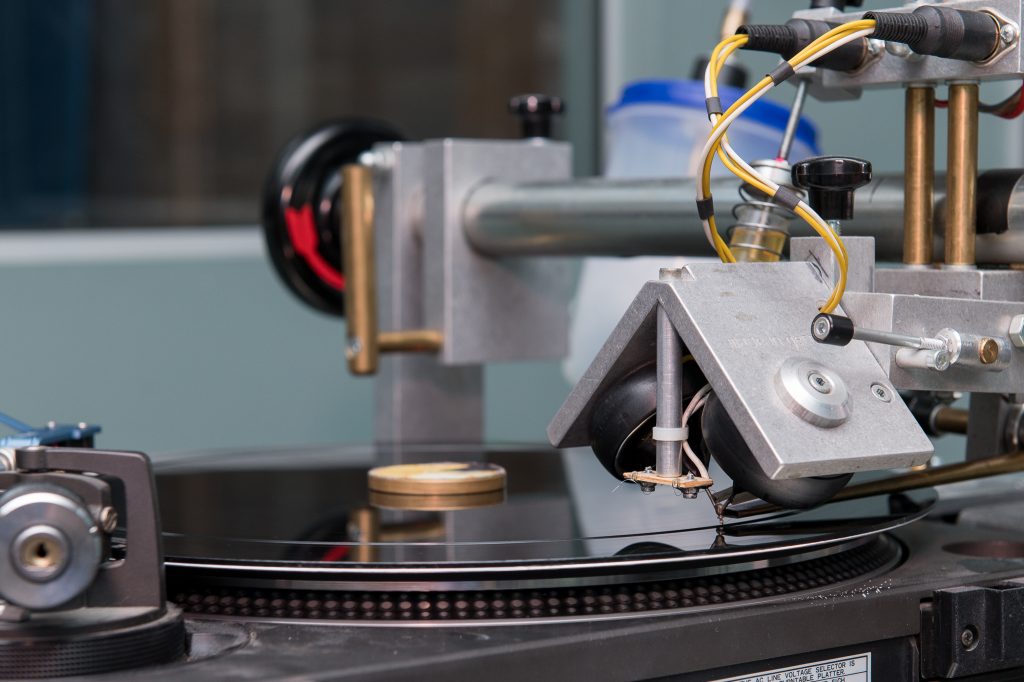
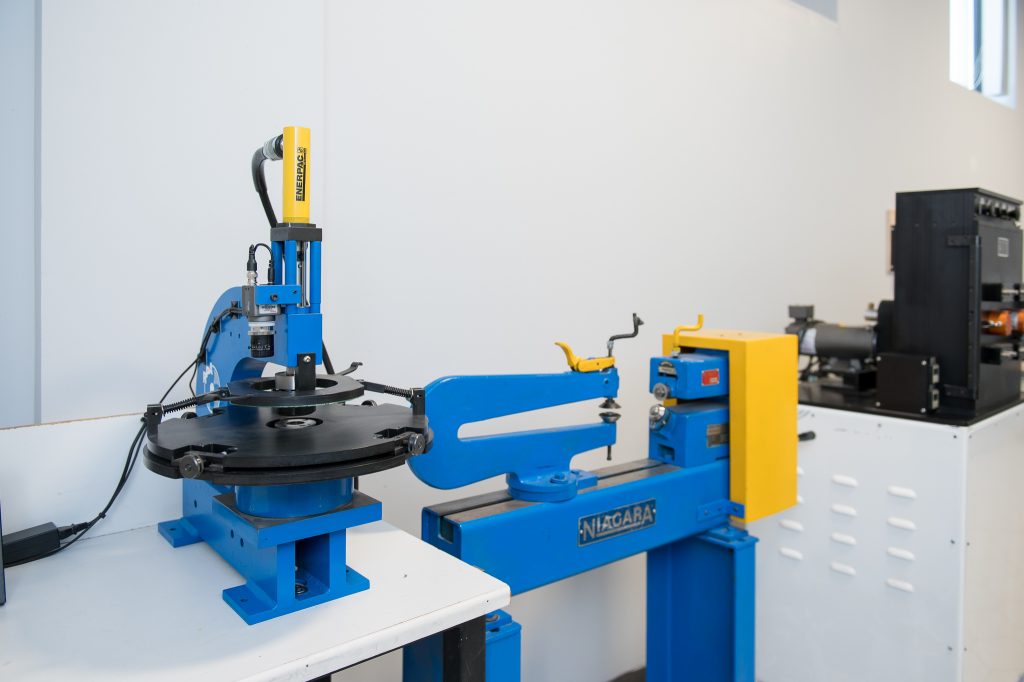
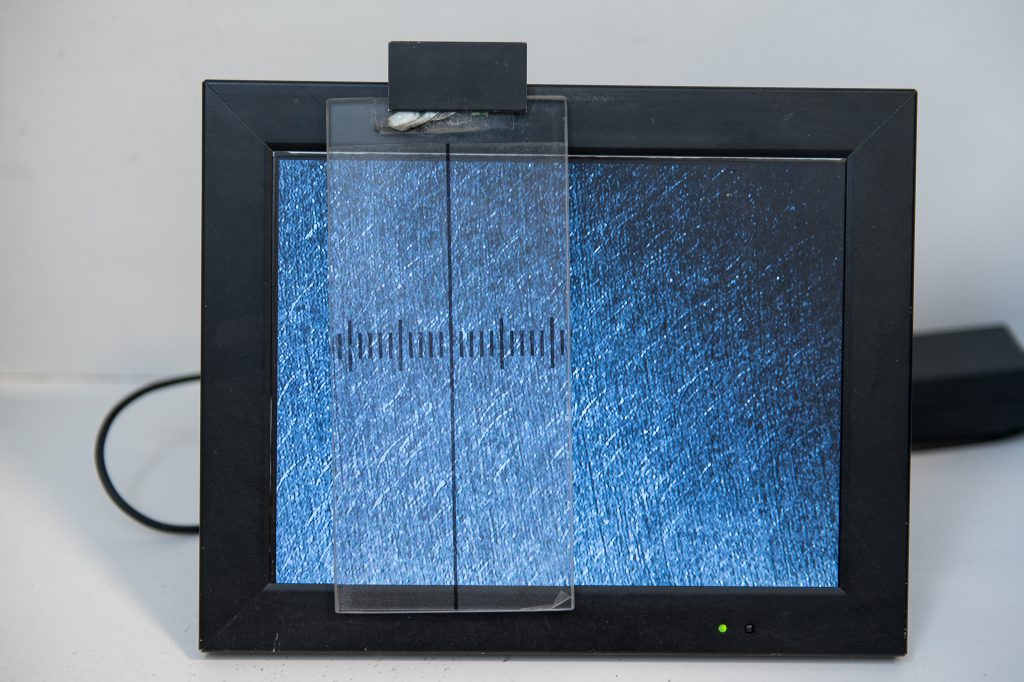
Step 3: Cutting the Master Record
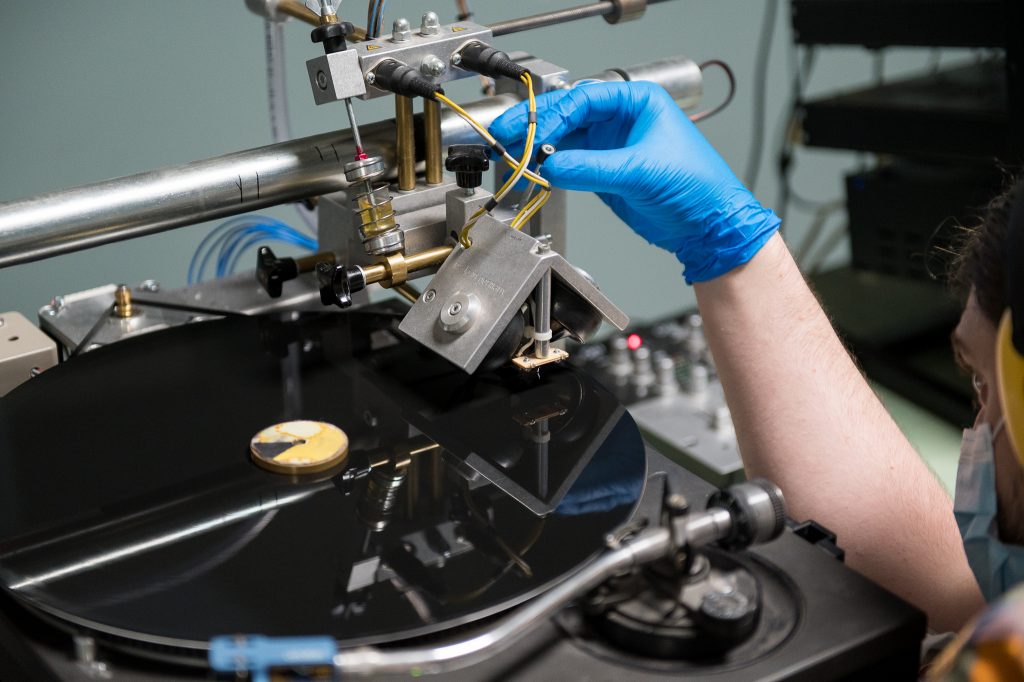
Once mastered properly, the audio file will be physically cut into what is called a master disc. A playback system sends an electronic signal to the cutting head where it physically cuts the grooves into the master record. It is essential in this phase that dust is kept away from the surface of the lacquer to prevent any imperfections in the surface
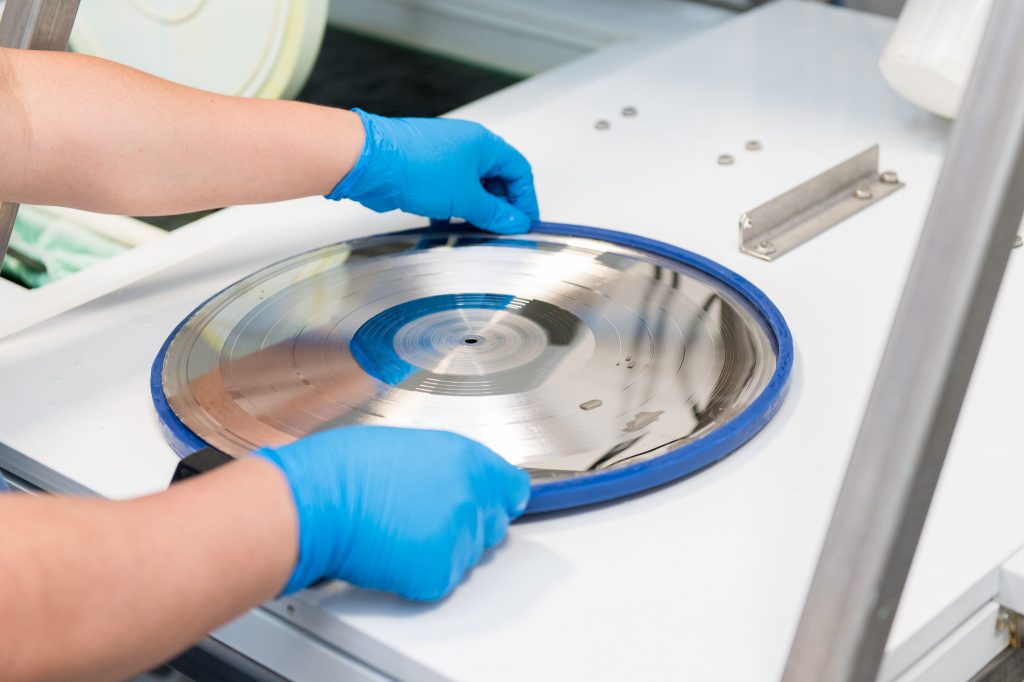
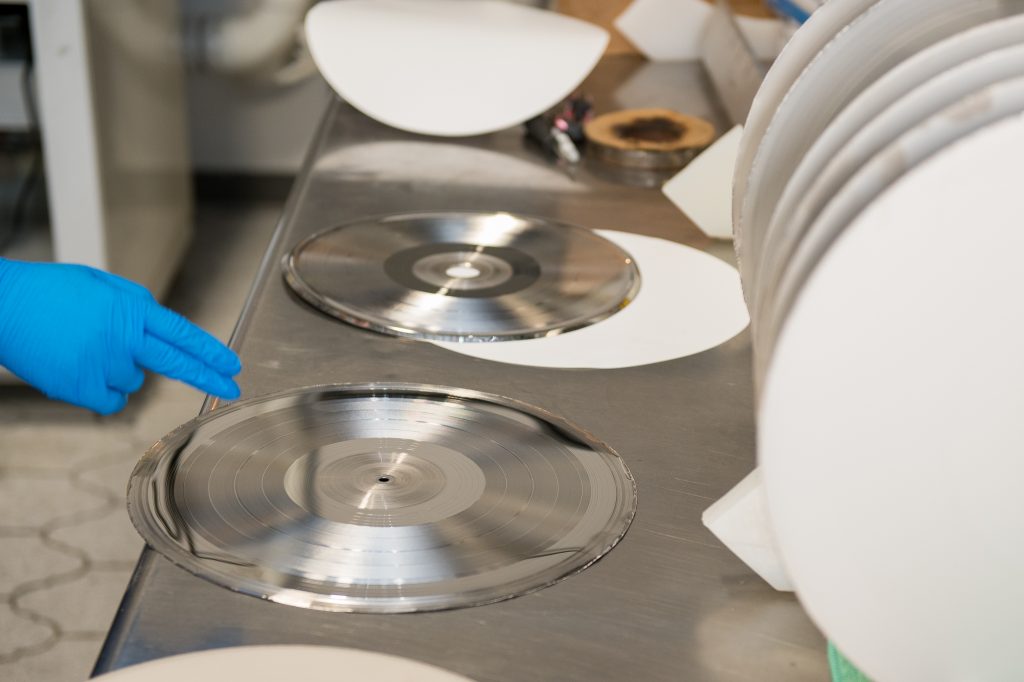
Step 4: Preparing the Stampers
After the master record is cut, two stampers are created (each one representing one side of the record) so that they can be used in the record pressing process. The stampers are essentially a reverse image of the master’s record grooves and are used to press the actual records.
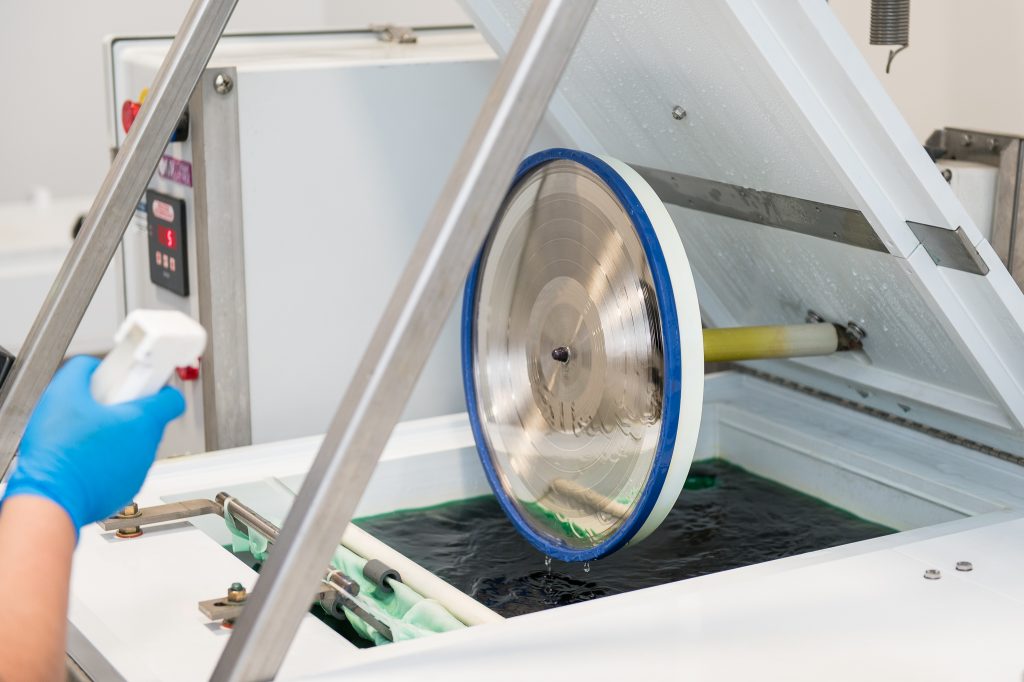
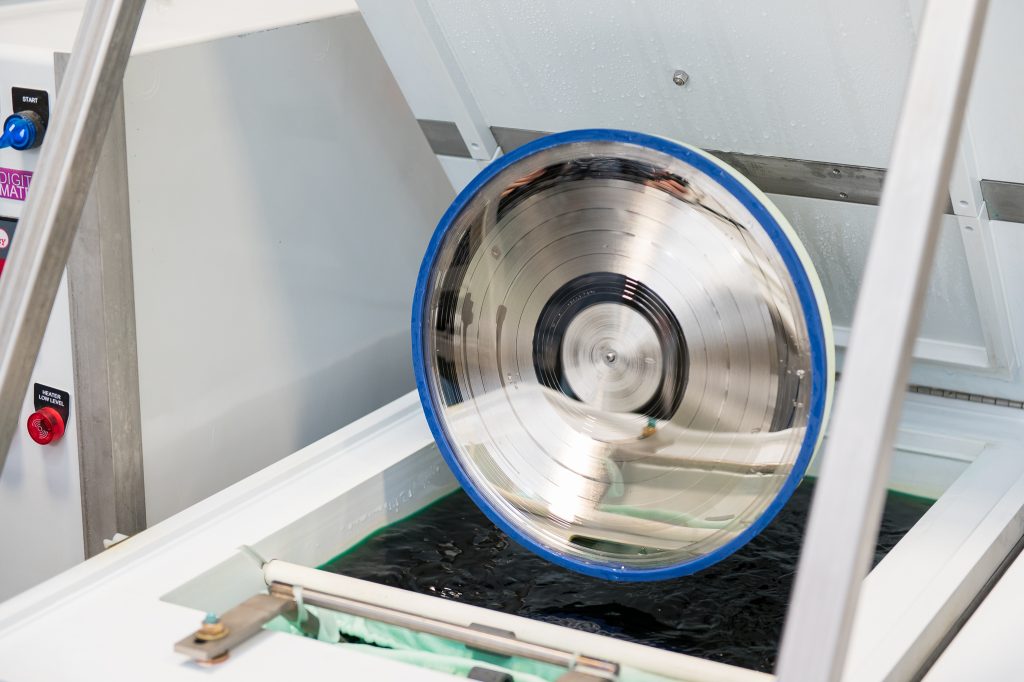
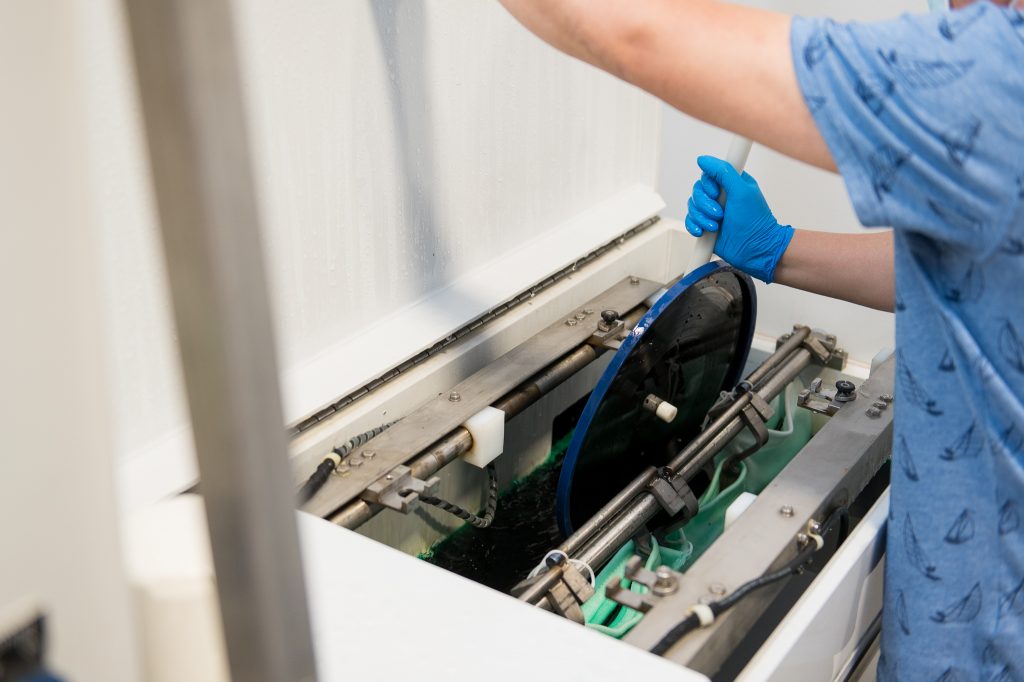
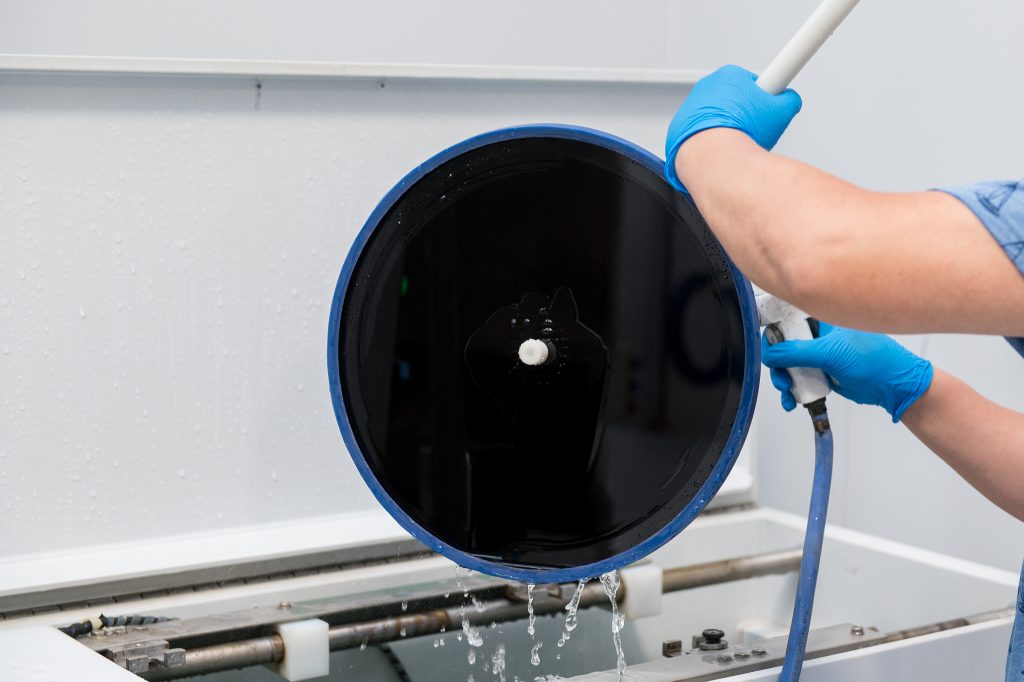
Step 5: Galvanics
Once the lacquers are cut, they go through a process called galvanics. That starts with a silver spray that is applied to the lacquer.
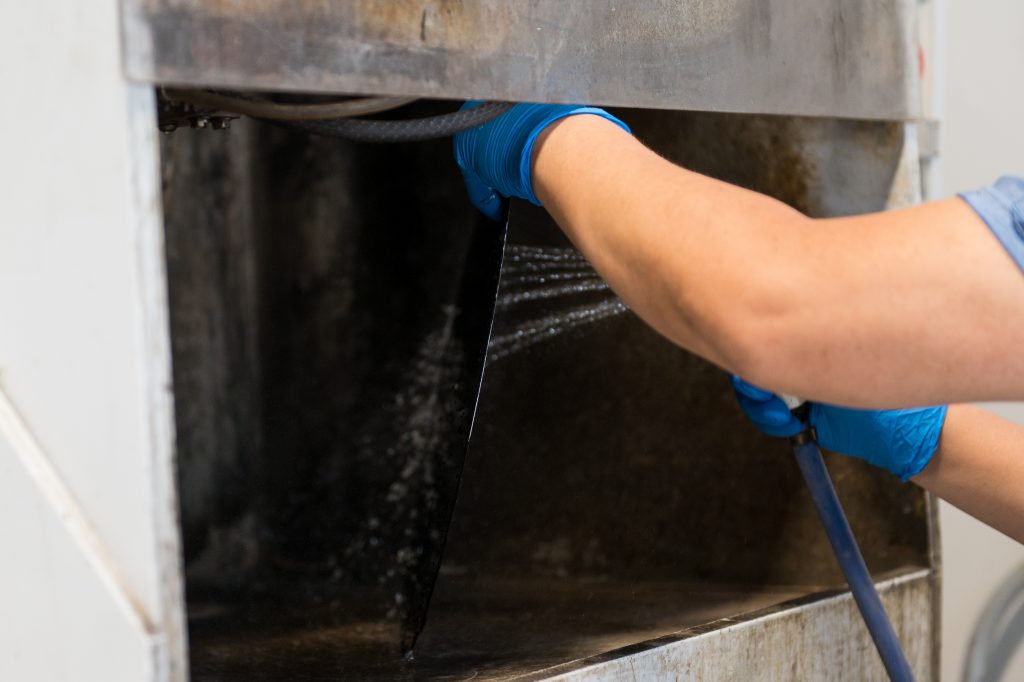
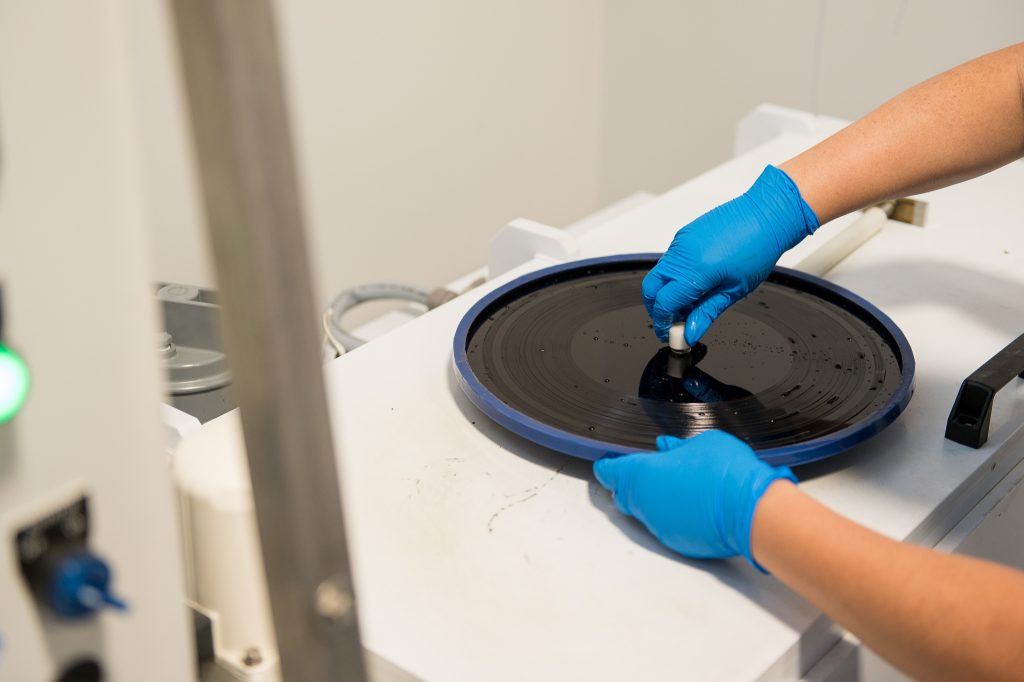
The disc is mounted to a unit where it is sprayed and prepared for electroplating. For the electroplating you are in fact plating the disc using electrolysis. The lacquer is placed in a bath where during a chemical process the nickel builds up on the disc where it fills the grooves and creates an image of that lacquer which is then used on press.

You can do a multiple step process that creates backups of that lacquer if you do larger runs of that record. The 1–step process creates a stamper which allows you to press about 1,000 records depending on if you are pressing on 140 gram or 180 gram vinyl. A 2-step process creates a “mother” which is a backup of the master and can create 7 or 8 stampers and a 3-step process creates “father” which is a backup of the backup master.
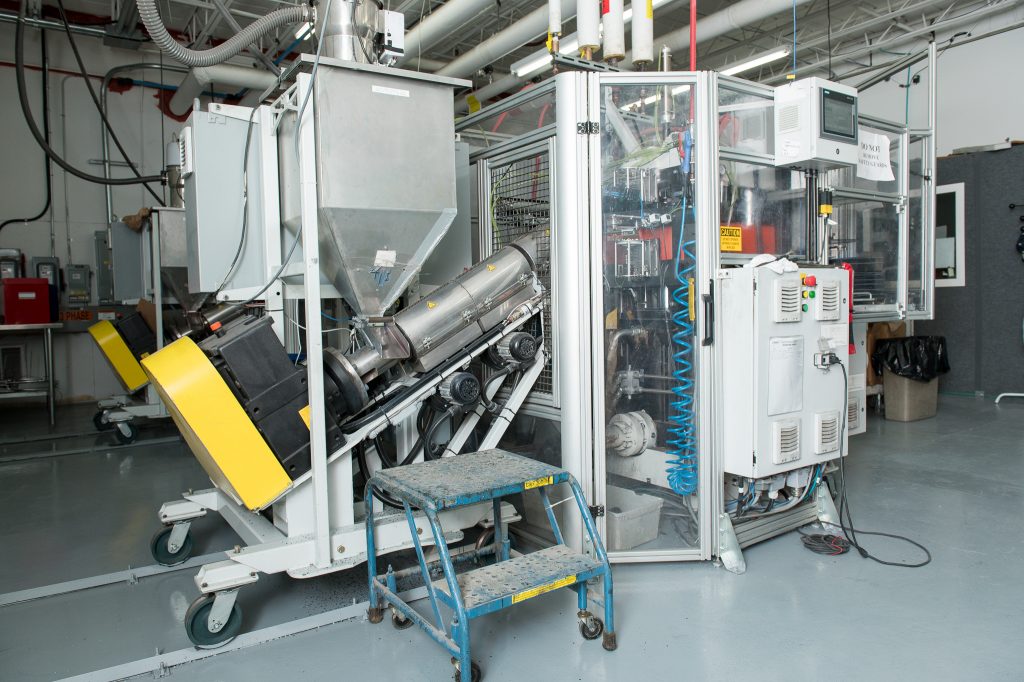
Step 5: Pressing the Records
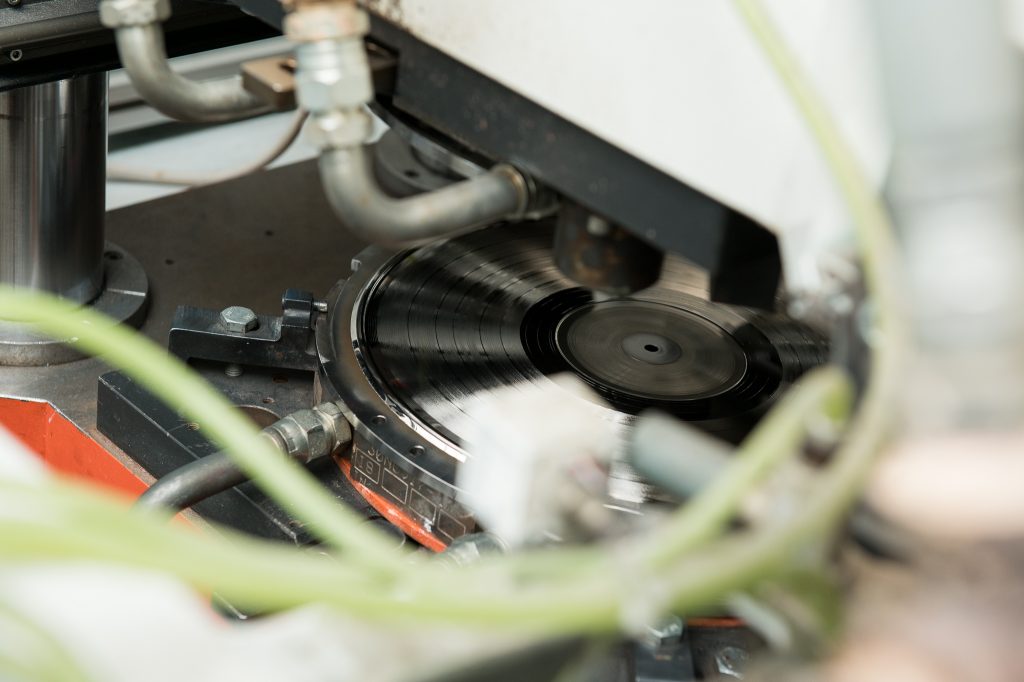
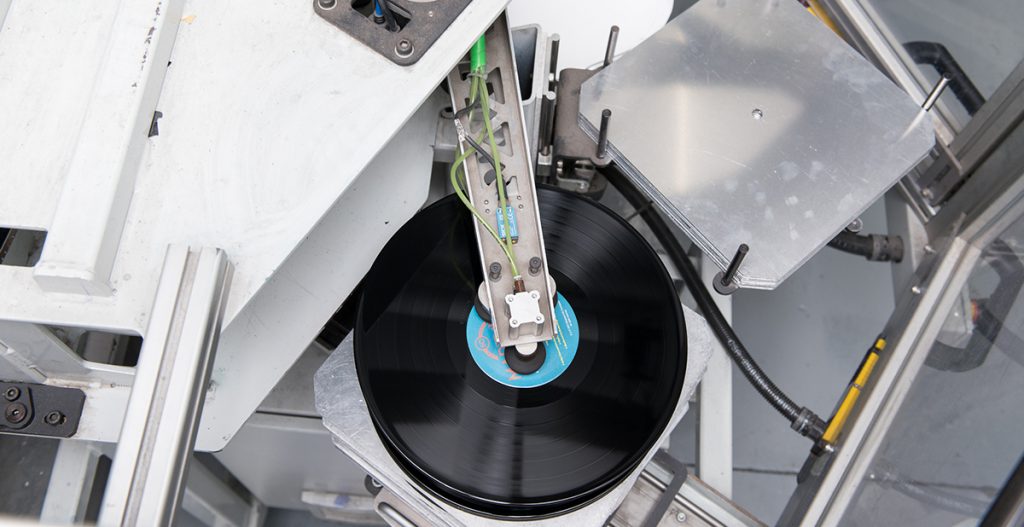
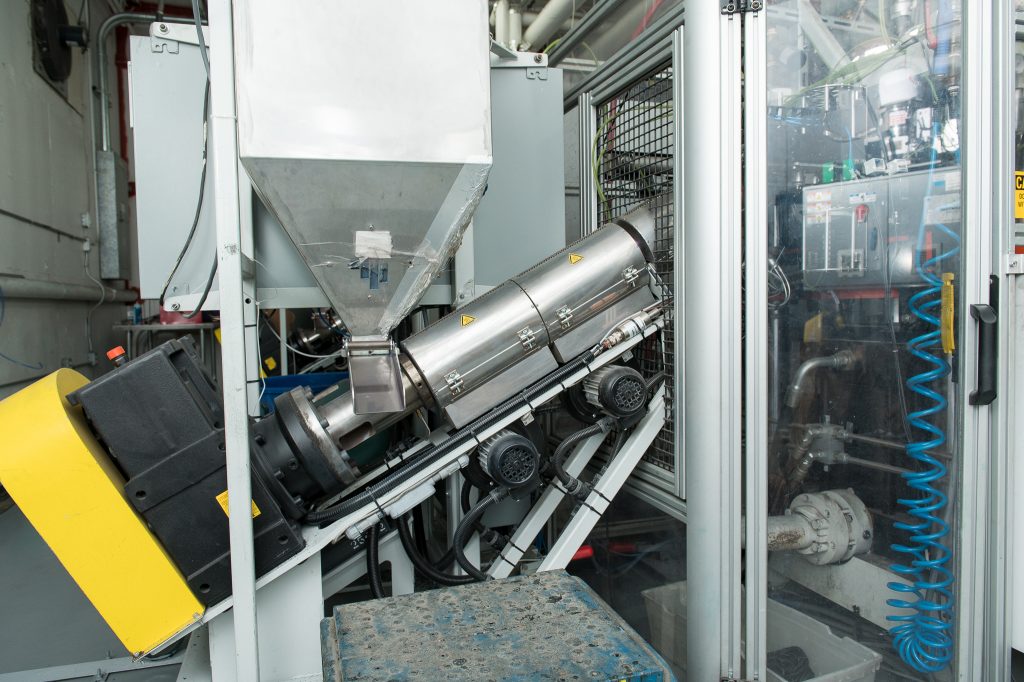
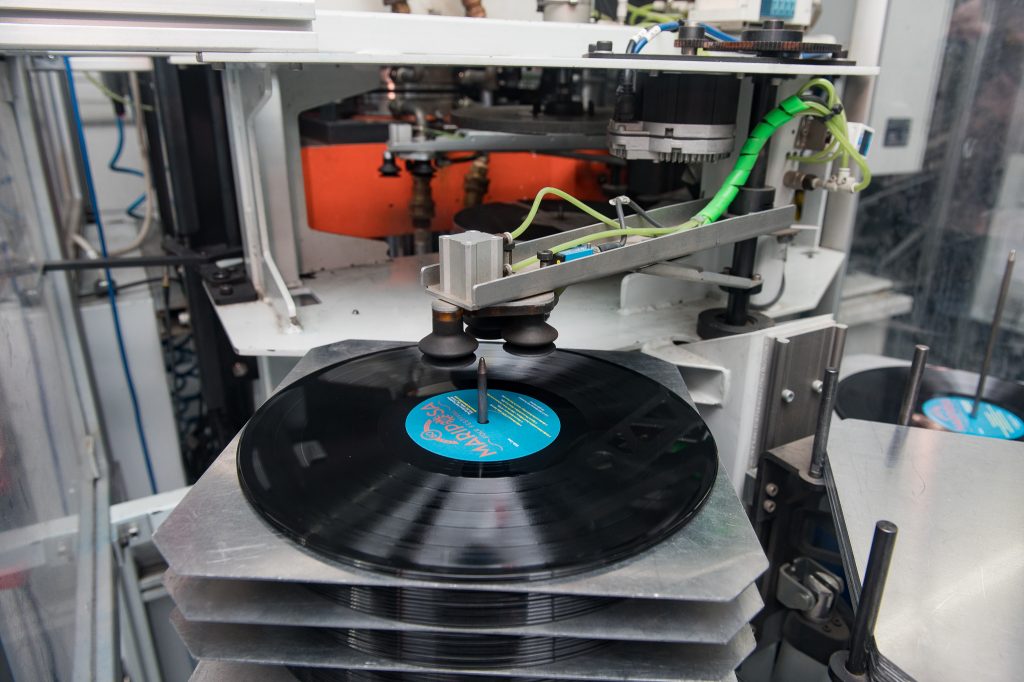
The operator will load the side A and side B stampers onto the press, the PVC pellets will then be loaded into the hopper which feeds an extruder. The vinyl pellets get heated up as they move up through the extruder into the press where they fill up a cavity to create what is known as “the biscuit”.
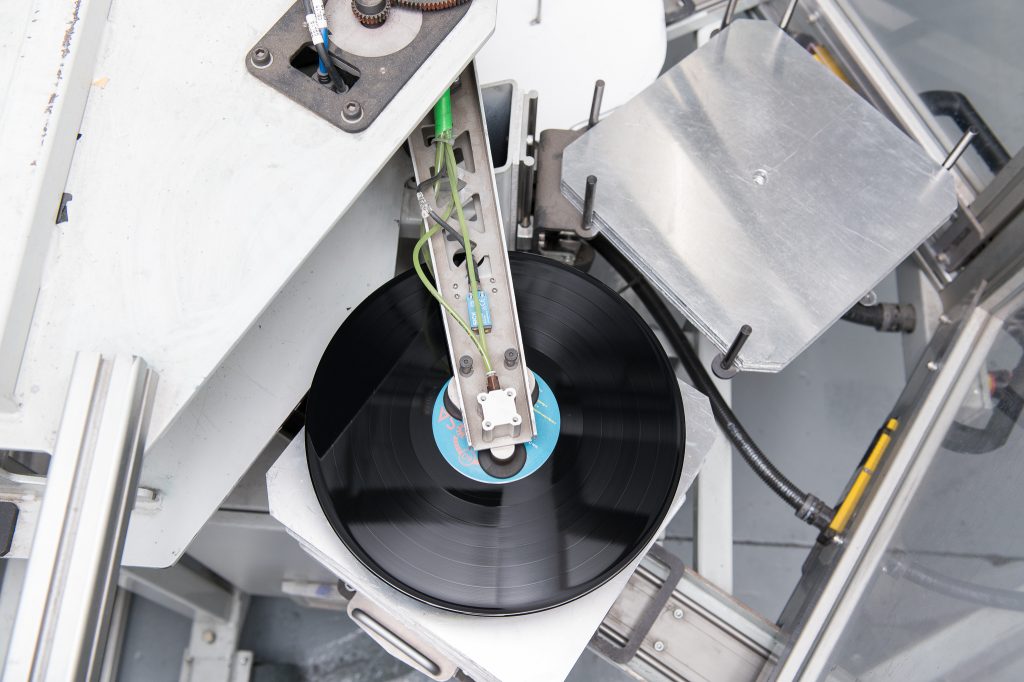
That vinyl biscuit it pushed into the part of the press that applies the pressure and the heat to stamp the record. As that is happening the record labels are put into place at the top and bottom the the biscuit. Interestingly, they are not just labels that are put on with an adhesive, they are actually fused into the record with the intense heat and pressure of the pressing process.
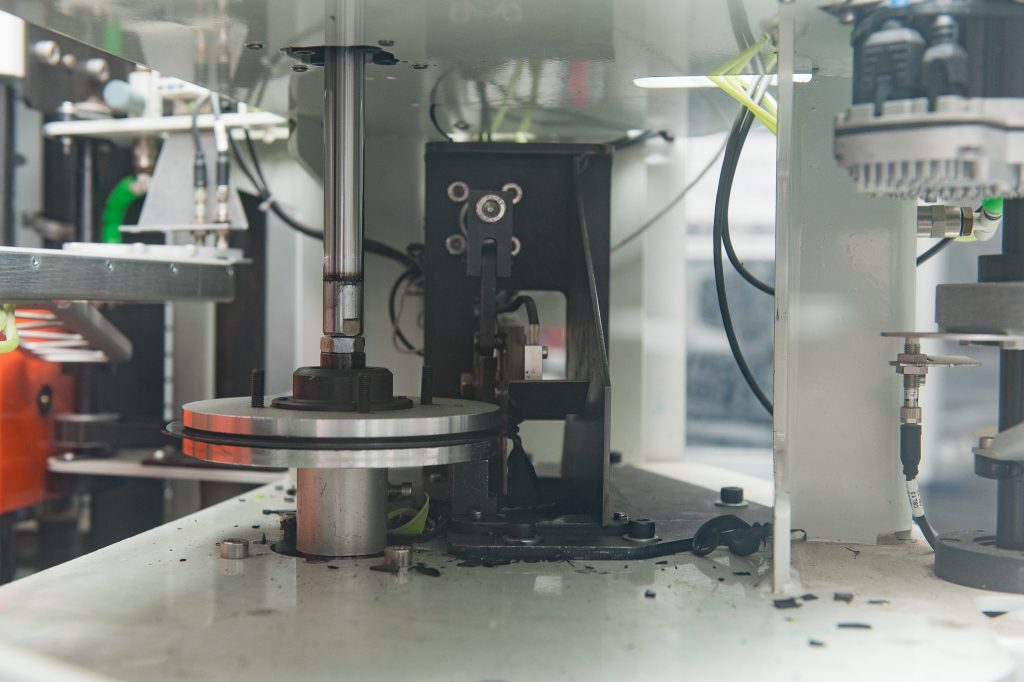
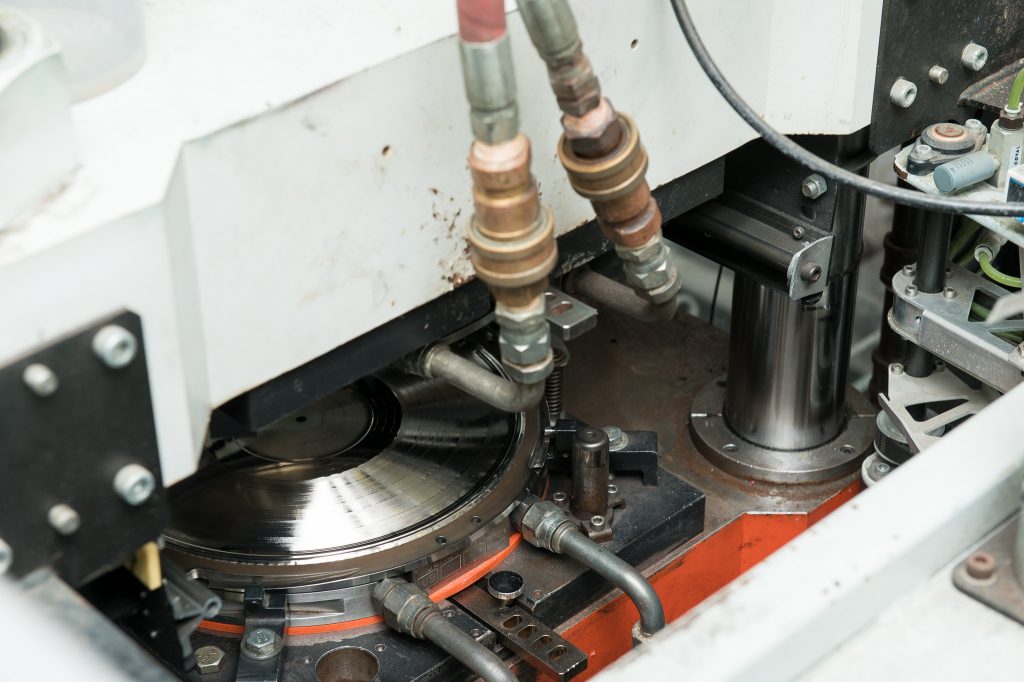
As that stamper applies the heat and intense pressure the vinyl fills all the grooves of the stamper creating that playable groove on the record. As that PVC material is pushed out to fill the grooves you get excess on the edges of the record that are trimmed off.
Once trimmed the record is picked up and moved to the cooling station. This process keeps repeating it self for the run of records on that stamper. The entire process usually takes about 30 seconds per record and is fully automated so as one record is being trimmed the first step is starting again with a new biscuit being fed into the stamper.
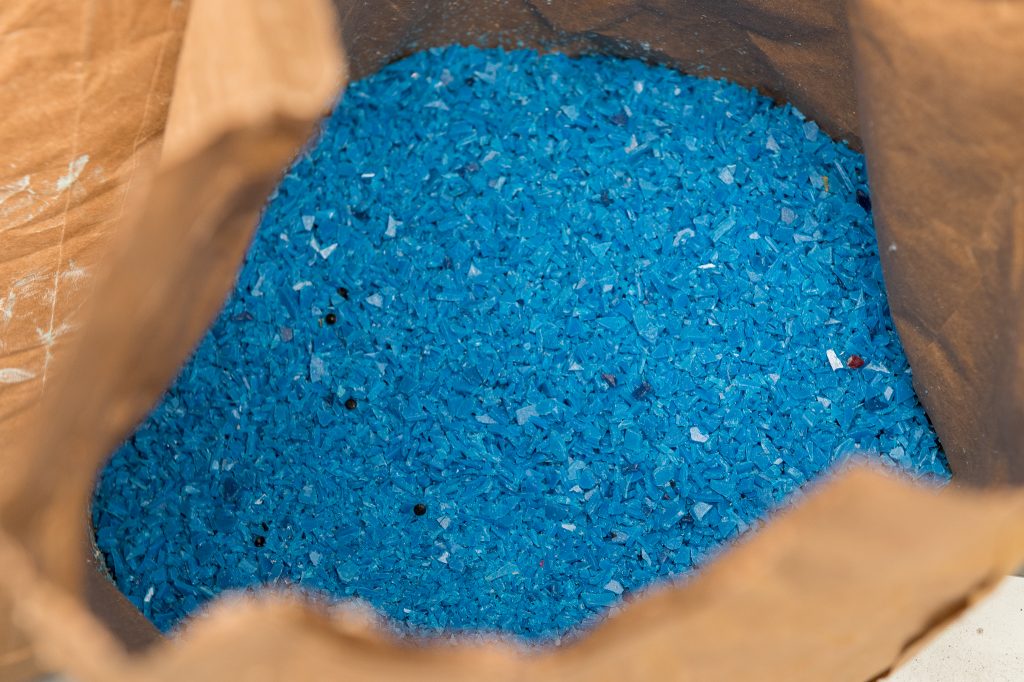
The excess material that is cut off the record is recycled; the trimmed material is ground up, vacuumed and prepared to be used again in records.

Step 6: Reviewing Test Pressings
When pressing a run of records for the first time a label will typically get a number of test pressings created first (typically 5-10). These utilize the same stampers as the final run (unless something needs to be changed). These test pressings are sent to the artist or label for approval.
The test pressing is meant to identify any issues with the record before they go into mass production. It’s a great opportunity to identify undesired noises, pops or other issues that can impact the final record run. If anything is identified a change can be made to those stampers before you do a full run of records.
It’s important to listen very critically to those records to ensure they sound exactly as desired.
Step 7: Quality Control
The quality control process for record production is multi-stage. The mothers are recorded so there is an electronic file for reference that can be compared to any pressed records.
Once in the mass production phase every 20 or so records are full listened to by a QC operator to ensure they sound great.
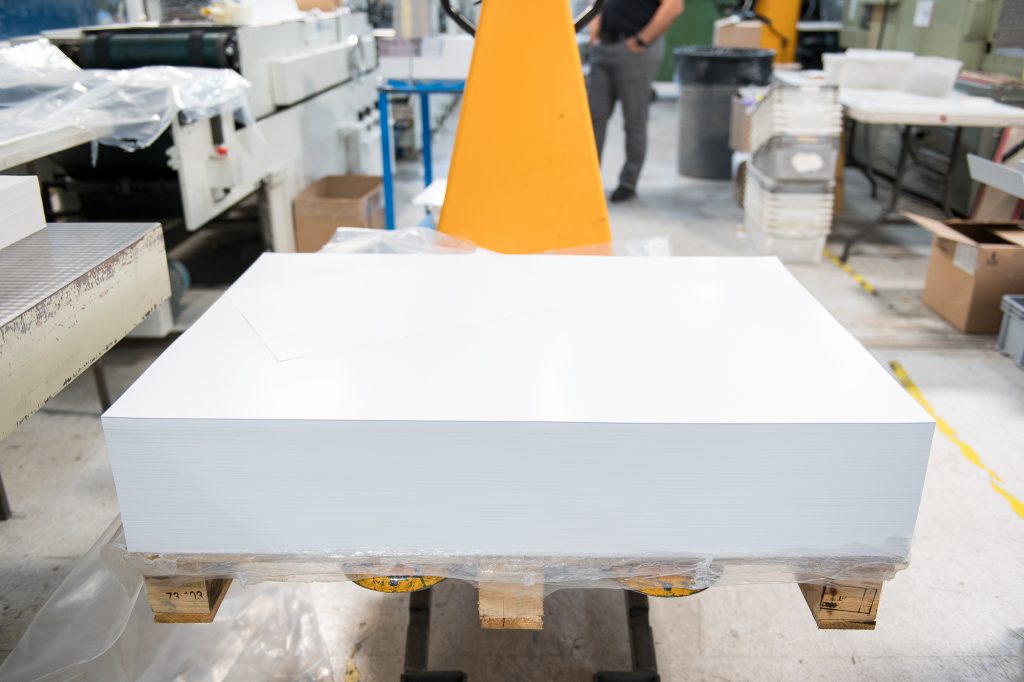
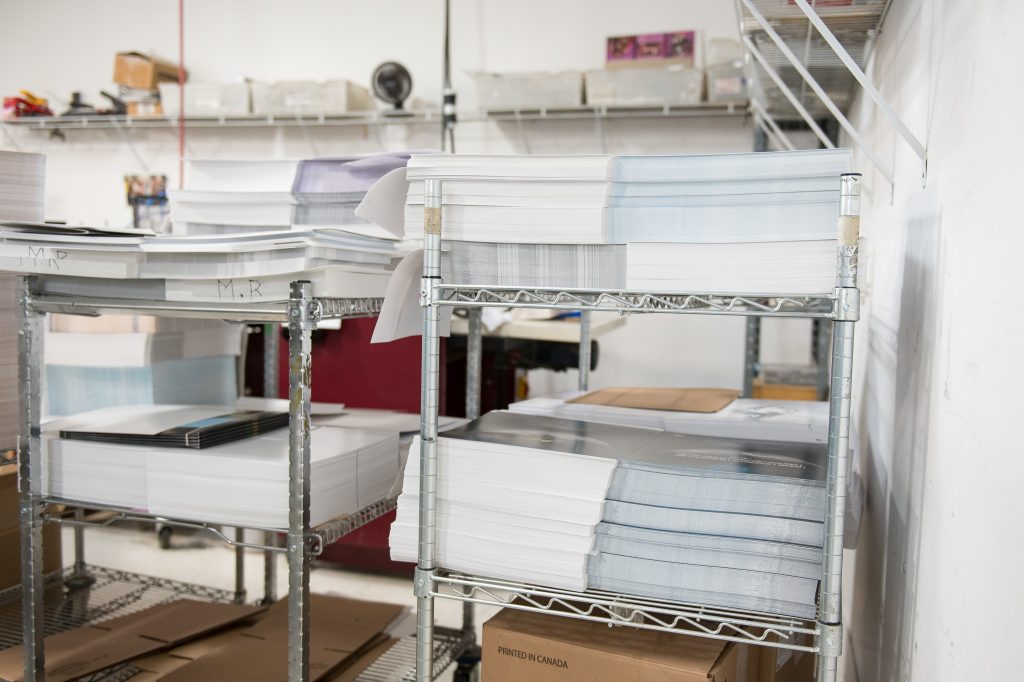
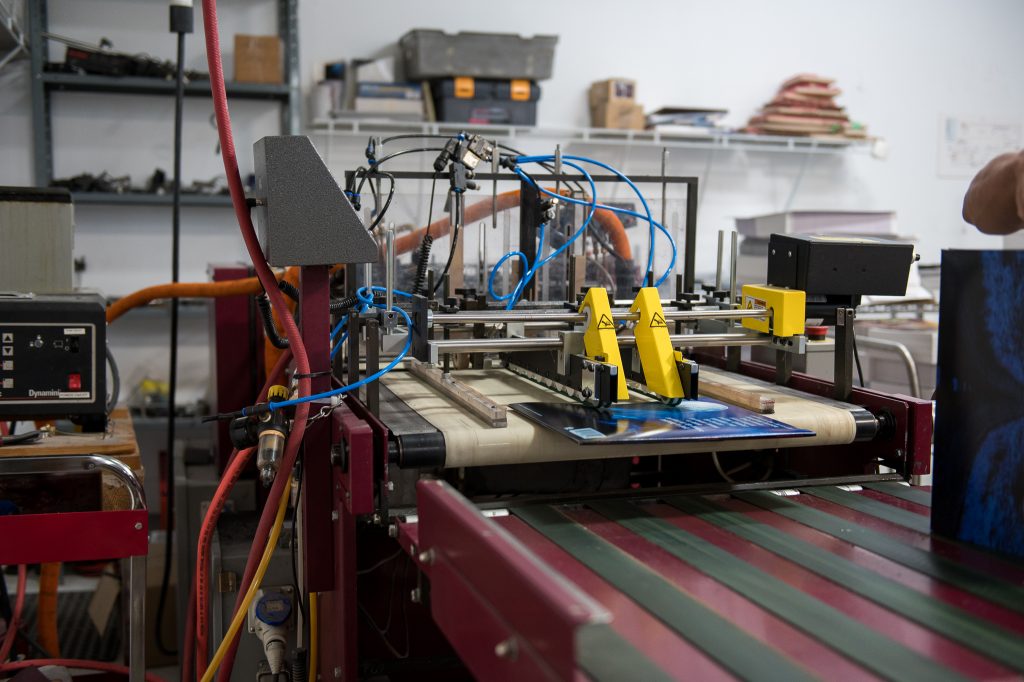
Step 8: The Record Jacket and Artwork Production
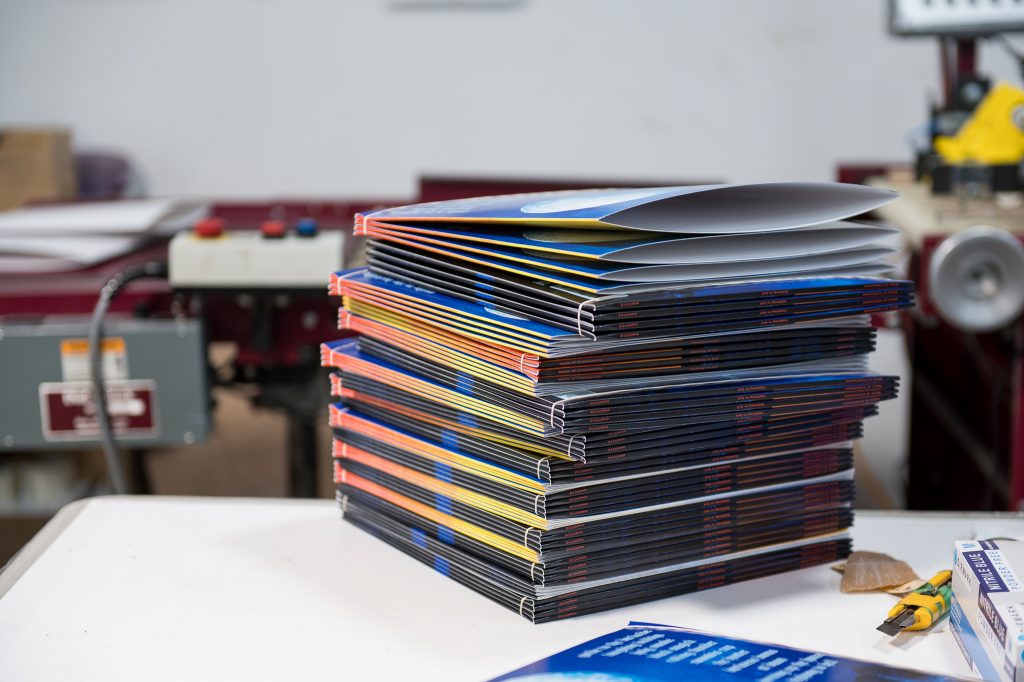
While the records are in production the other part of the record making process is occurring simultaneously . Making the record jackets! For many record collectors, the record jackets and artwork is a very important aspect of the final piece.
There are lots of options for what artists can including gatefolds, special die cut covers, and inserts. We all love inserts right!
Depending on the size of the run you may have digital or off-set print runs. The type of printing an artist or label would choose would largely be based on budget and quantity produced. If you are an indie artist or buying records from one you may end with a digital print cover for shorter runs. Digital printing allows for the same vibrant color printing and contrast as offset. Offset is more cost effective for large runs and allows you to maintain consistent quality throughout a larger batch of printed materials.
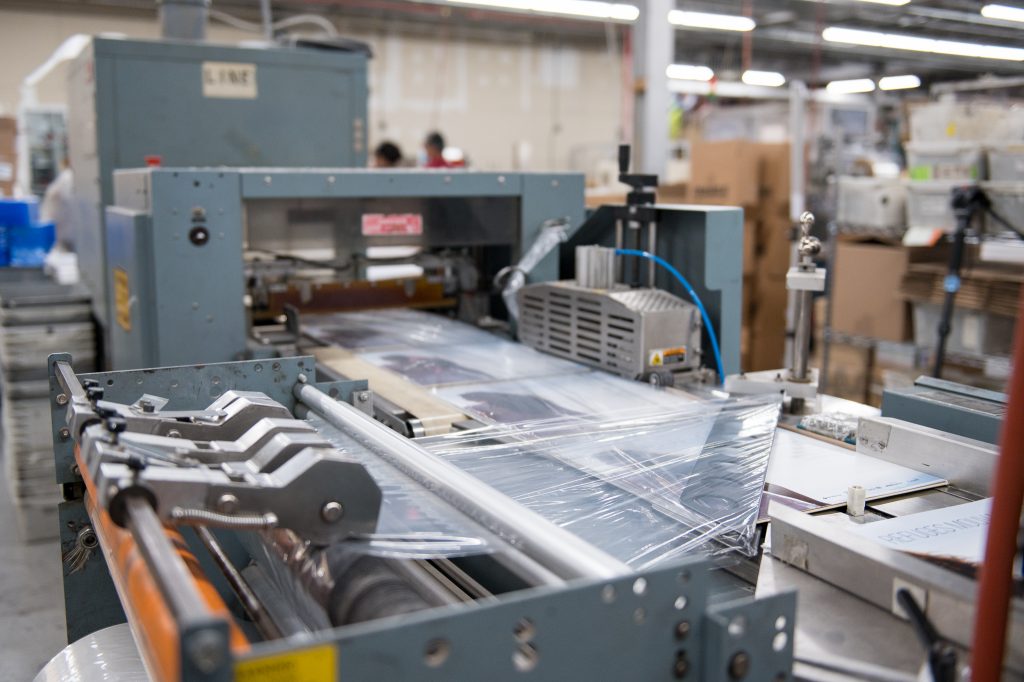
All the sleeves are diecut where the card stock is cut into the required shape by an automated machine then proceed to being folded and glued to become the future home for your precious records.
The records are then packaged, shrink wrapped and sent to the artist or label for distribution.


Record Production Considerations
Aside from the process detailed above there are some additional considerations when getting an album pressed onto vinyl.
Does 180 Gram Vinyl Sound Better? 140 Gram vs 180 Gram Vinyl
One of the decisions an artist or label has to make when pressing an album on vinyl is the weight of the vinyl record. You will see many albums marketed as being 180 gram or Audiophile Grade 180 gram or even 200 vinyl. Technically there is nothing inherently better sounding about a heavier weight record. If a record is cut properly it can sound equally impressive on 140 gram vinyl.
For some records the weight is an indication of quality of the overall production. The fact the it was pressed on a heavier weight points to more investment in that pressing that would also be reflected in the mastering or cutting process, the quality of the jacket and sleeve. While other records produced with a bare bones budget may have taken short cuts across the board which would also be reflected in the quality of the pressing.
There is a bit of a subjective feeling to that heavy weight record as just feeling more substantial. Some collectors make the argument that heavier weight records like 180 gram are less prone to warping than lighter records.
Different Types of Master Records
There are a few materials available for cutting a master record. The choice of material will depend on where the record is being produced, what budget there is available for the cutting process as well as what sound reproduction qualities are important in the finished product
3 Most common Types of Master Records
- Lacquer – An aluminum disc with nitrocellulose layer, these have fantastic reproduction of the bass/low end frequencies
- DMM (Direct Metal Mastering) – This is a copper disc. It’s biggest advantage is that it is a quieter record with really great high frequency reproduction but does lack a bit in the low end
- Plastic Cutting – Developed as an alternative to the metal options and aimed more at indie artists with a smaller record run, to allow them to press records without a substantial investment
What is the Optimal Length Per Side For A Record?
Based on the physical limitations of a record an artist has to consider the length of tracks that can fit on each side.
When creating a cue sheet for the album the artist needs to choose tracks that fit the optimal running time for each side. For a 33 RPM 12 inch record the ideal track length is between 15 and 18 minutes per side.
That length can be exceeded but is not recommended to maintain the fidelity of the record. Other considerations are things like bass, which takes up more space on the record. If you have a record with a lot of low end you want to stick to that 15-18 minute length.
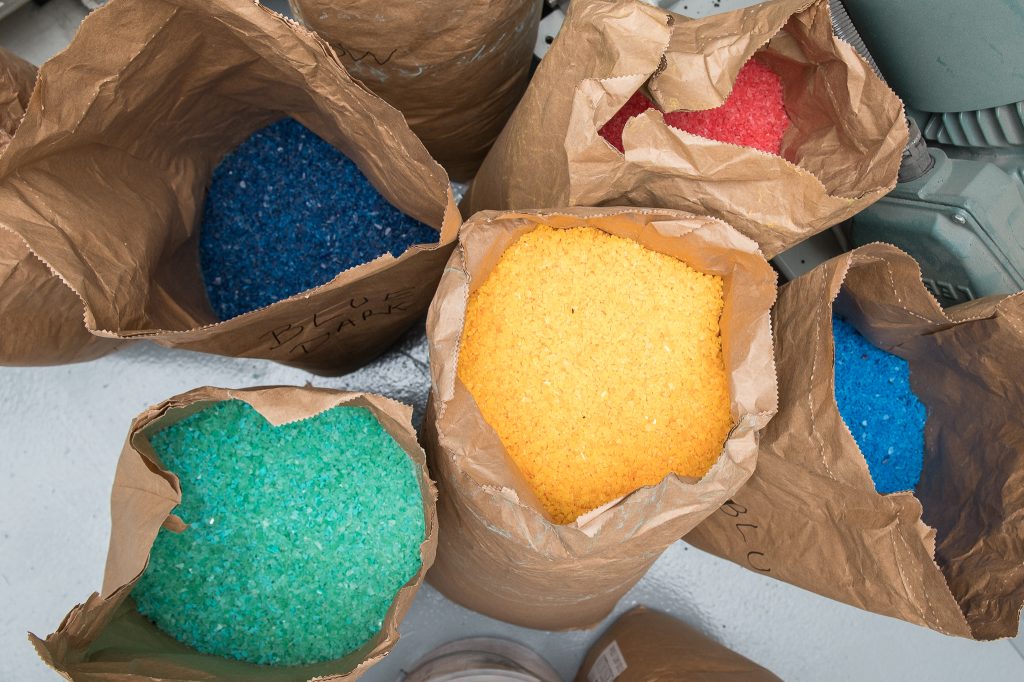
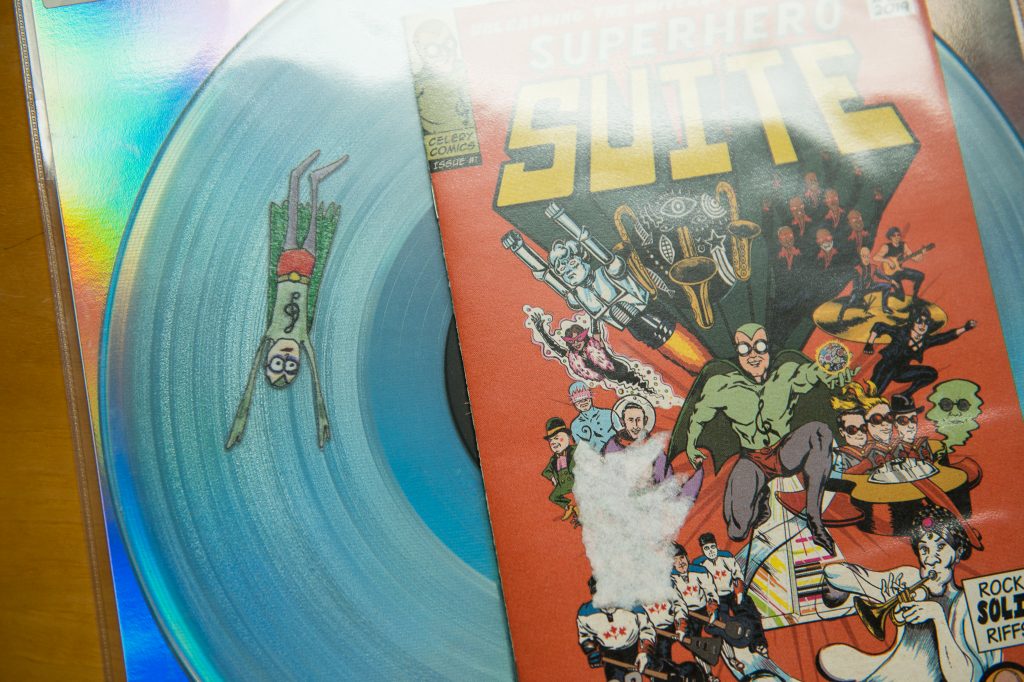
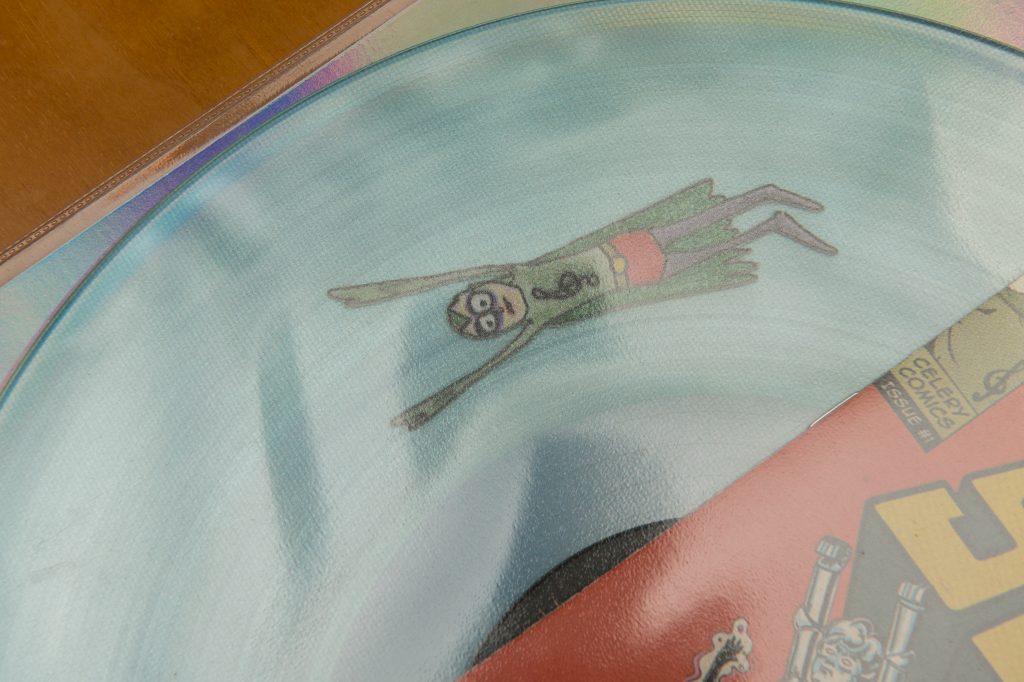
Colored Vinyl and Other Special Record Effects
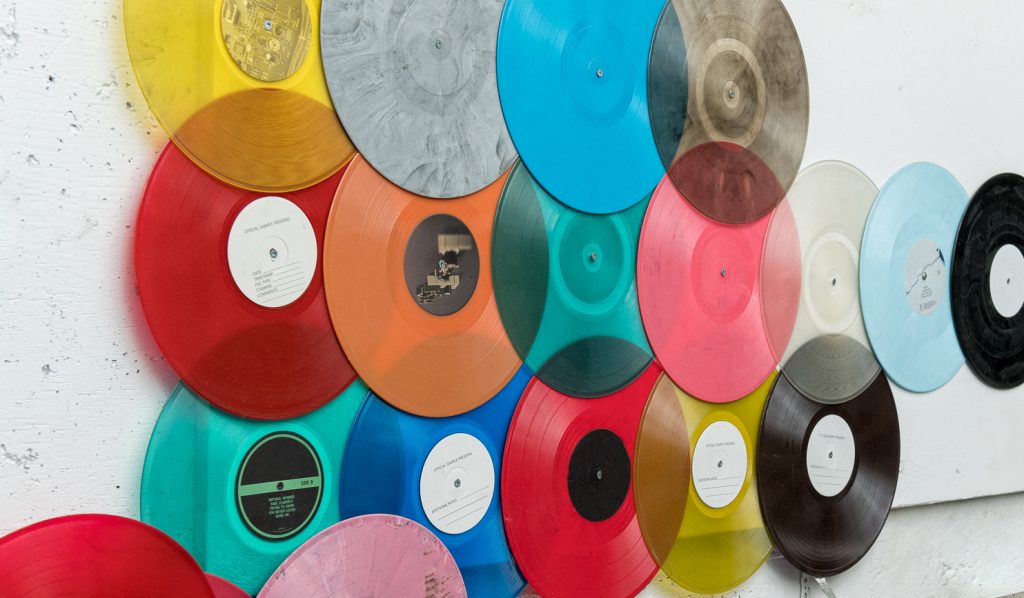
Another consideration for record production is the look of the actual record itself. Over the last decade special variants, unique colors pressings and special editions have been extremely popular with record collectors.
Many artists are releasing special color represses or perhaps doing certain record effects for a Record Store Day or anniversary edition of an album. Pressing plants are now offering maybe unique types of records aside from the traditional black vinyl.
How some of the special effects are accomplished vary amongst pressing plants. New techniques and design are constantly being developed to be able to offer something unique to the band that fits with the identity of the band or album.
Record effects are only limited to the imagination. Artists are able to come up with unique ideas to incorporate into their releases. One interesting example was pressing a super hero image into a record to make it appear as though they were flying around as your turntable spun. Other examples include images being etched right into records or etched hologram records. The sky is the limit for creativity!
The whole production of making vinyl records is fascinating to dive into. It’s both an art and a science at the various stages.
It is amazing to see how records start as a bag of small plastic pieces, and become a cherished item that perhaps we line up for in Record Store Day queues for hours.
For musical artists it can be so satisfying to have your craft represented on this wonderful physical medium.
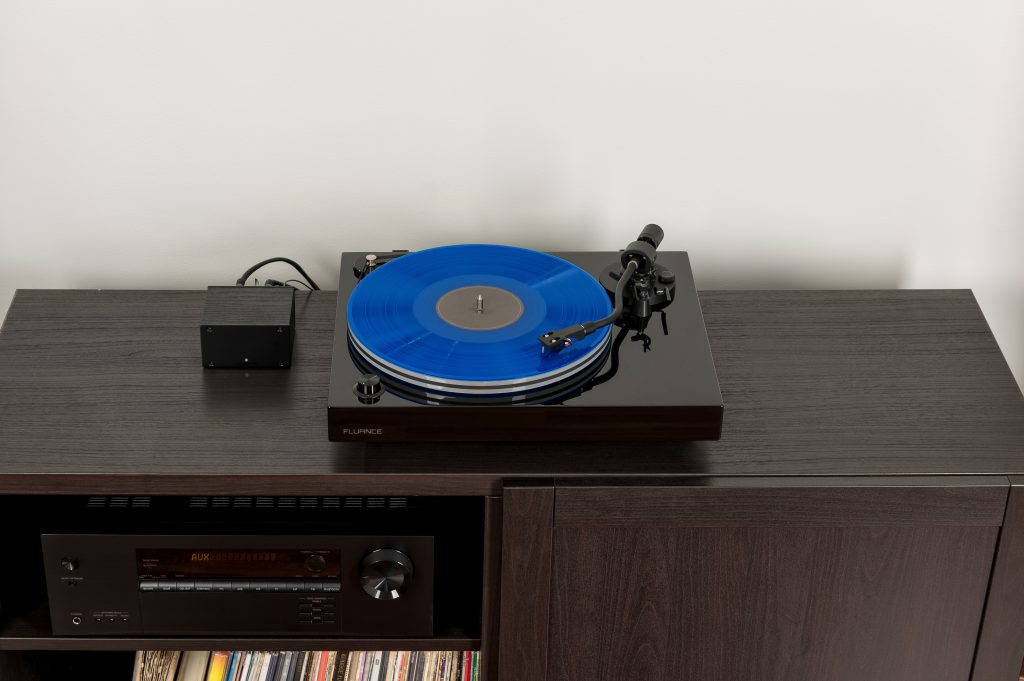
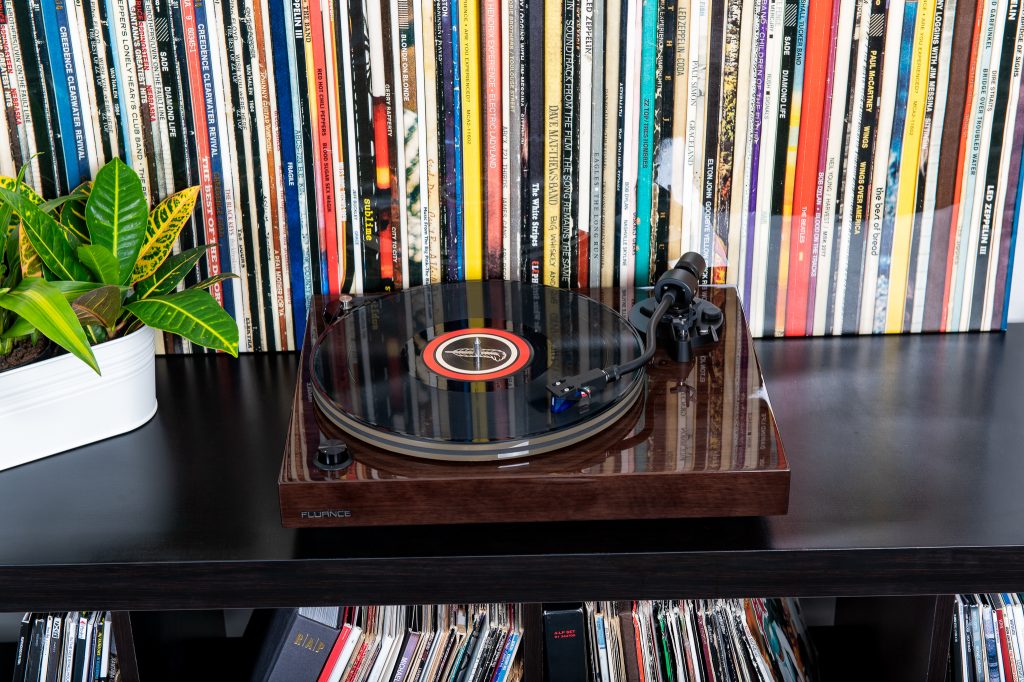
To fully enjoy your record collection be sure to check out our line of Fluance Turntables.
Special thanks to Microforum Vinyl Record Pressing for taking us behind the scenes to showcase how a vinyl record is made. If you’re an artist, check them out to get your music pressed onto vinyl.
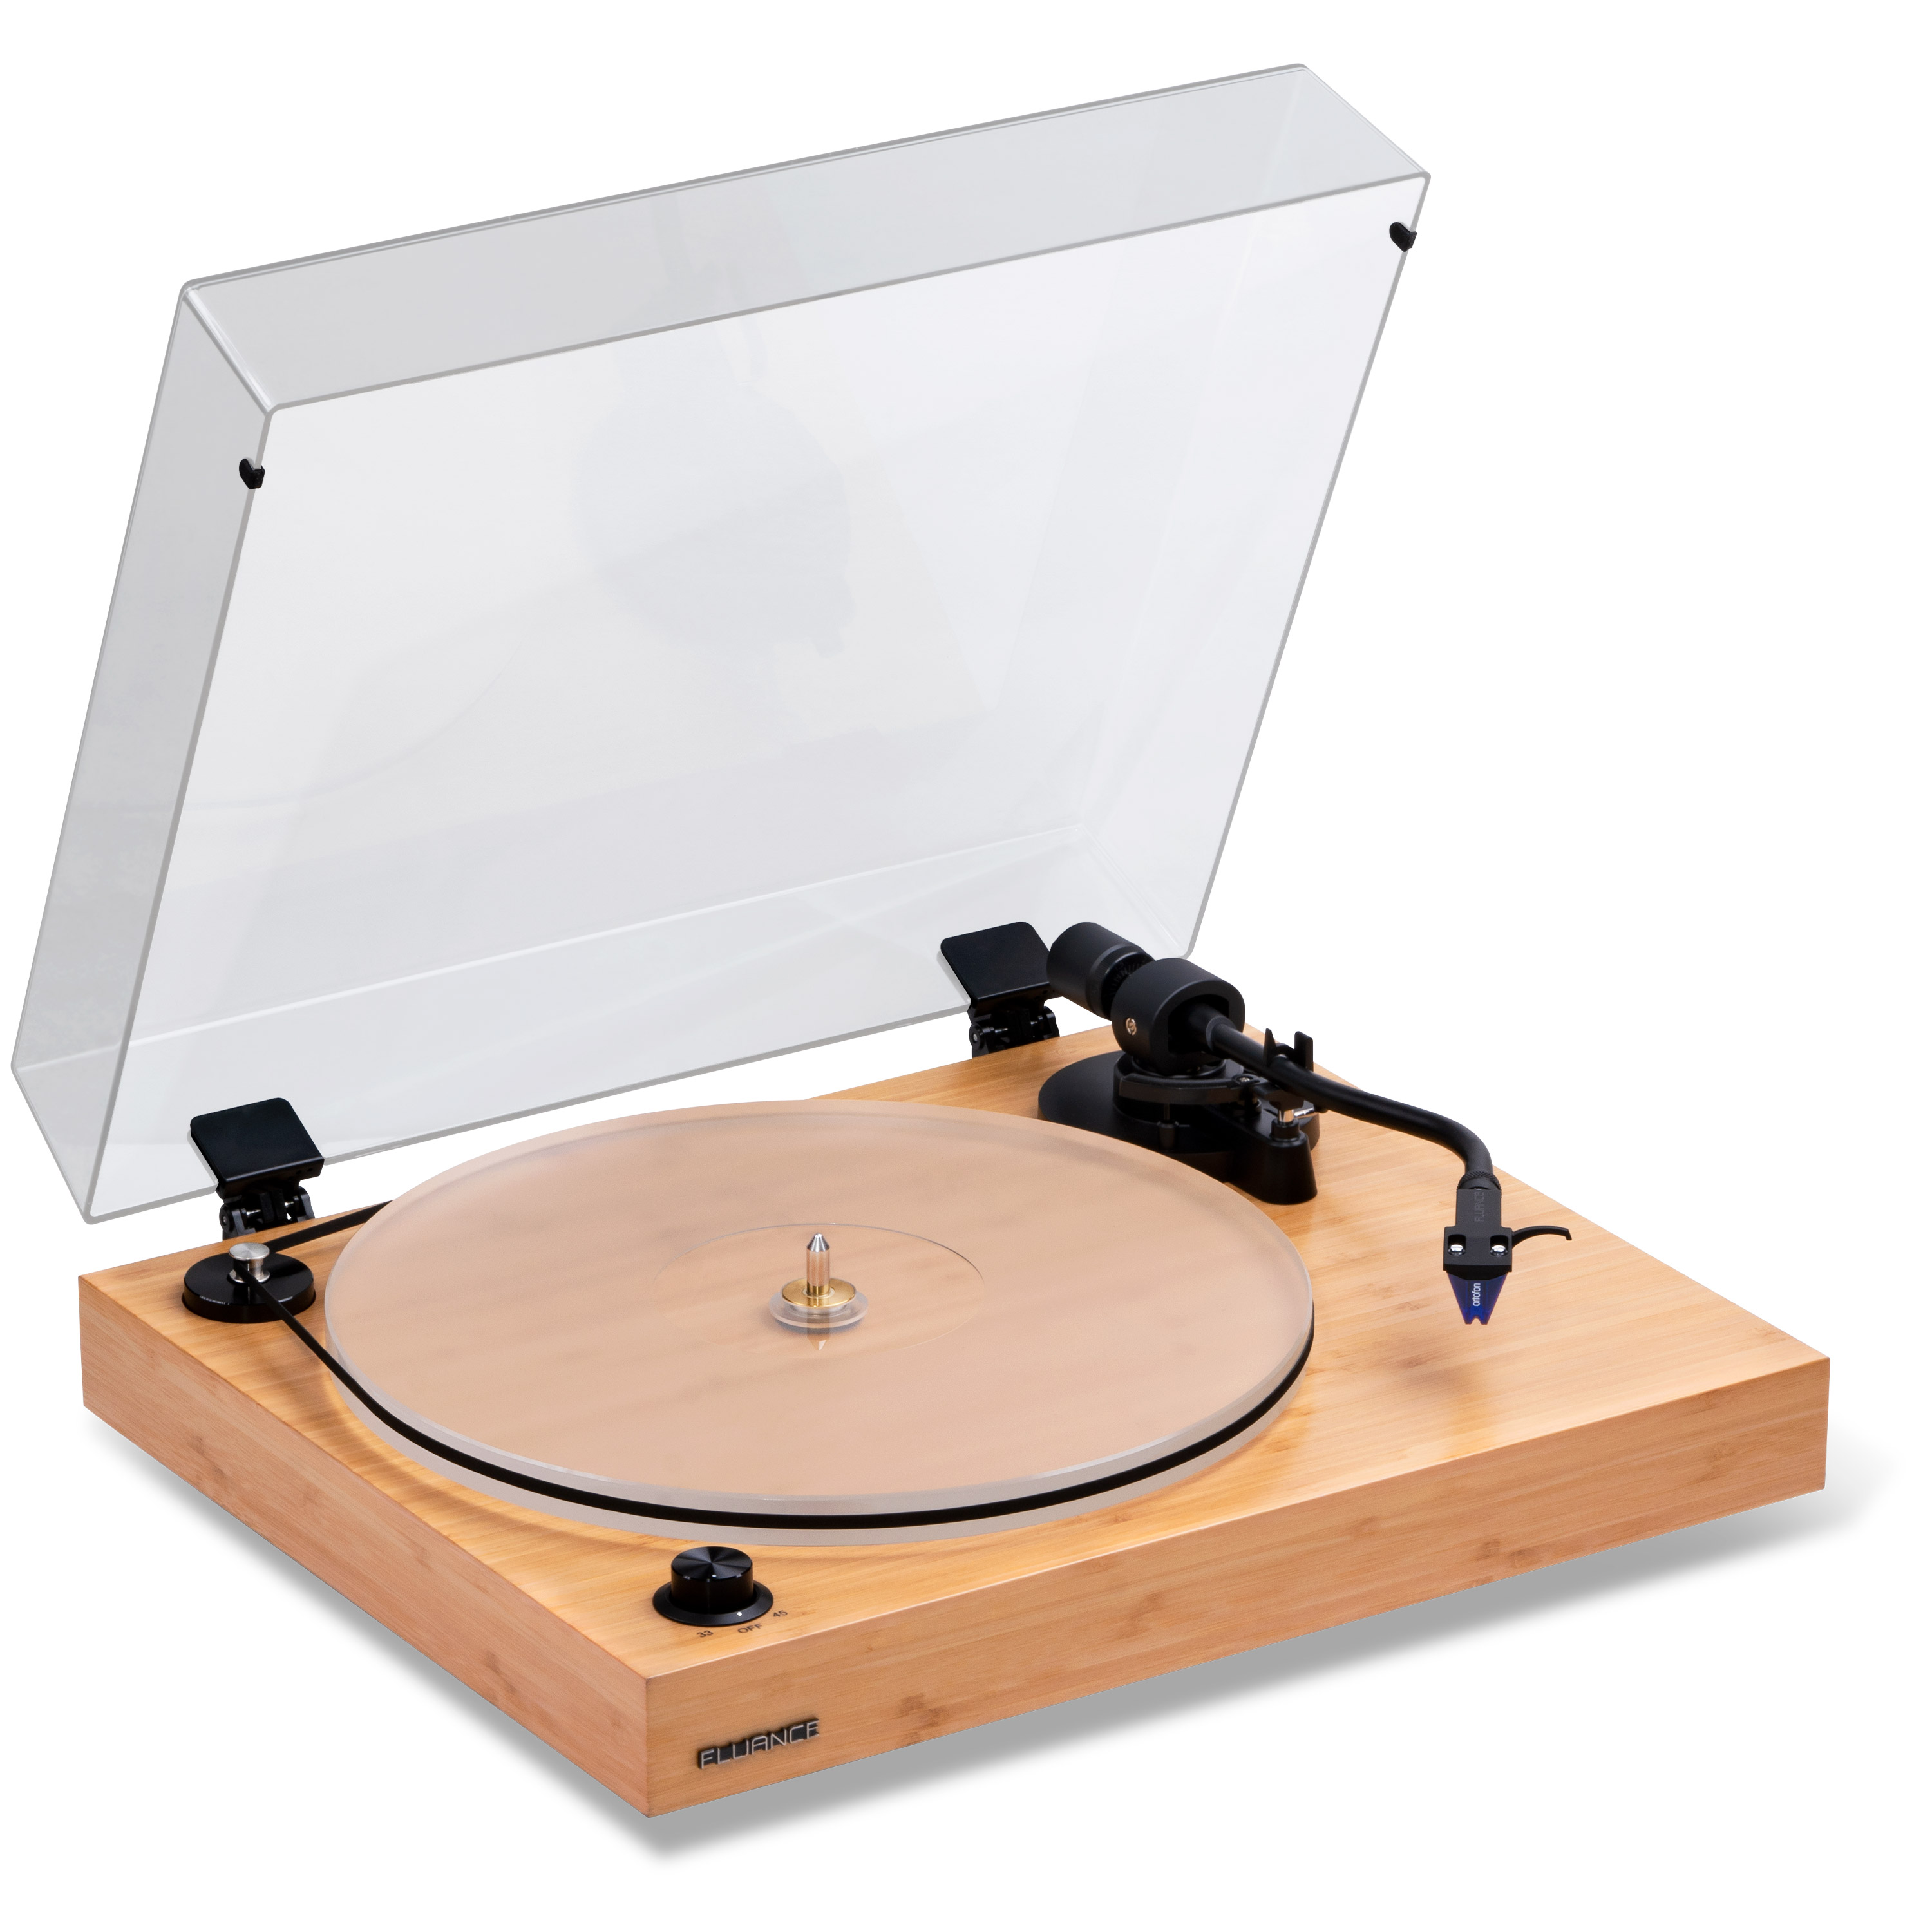
RT85 Reference High Fidelity Vinyl Turntable
Featuring a High Density Acrylic Platter and Ortofon 2M Blue Stylus, the RT85 Reference turntable delivers a warm, uncompressed listening experience that commands your attention, allowing you to get lost in the music.
Learn More