
Contents
How to Position and Set up a Center Channel Speaker
Even the best home theater system won’t deliver optimal performance if it’s not set up correctly. When setting up a speaker system, it’s important to pay special attention to the center channel; the placement of this speaker can have a big impact on the overall quality of the surround sound experience.
Let’s look at some key factors to keep in mind when setting up a center channel speaker.
The Role of the Center Channel
Many home theater enthusiasts regard the center channel speaker as the most important component of a surround sound system. The majority of a movie’s dialogue comes through the center channel; in addition to voices, most of the sound associated with a scene’s front-and-center action is carried through the center speaker.
A high-quality center channel delivers these sounds clearly so that they’re not muddled by background noise.
Speaker Placement and Position
Because the center speaker plays an integral role in “pinning” voices to faces on the screen, it needs to be positioned as close as possible to the TV.
[su_quote]It’s also important that the center channel’s direct path isn’t being obstructed by seats or people’s heads.[/su_quote]Many home theater fans choose to elevate their center speaker with a speaker stand; some individuals opt for a wall mount instead.

Optimizing a Speaker Stand
If a theater room seating setup uses platforms or risers, it can be tricky to ensure that the center channel speaker provides the optimal listening experience for every row of seating. A standard placement of a center speaker on a speaker stand might work perfectly for the front row but not quite as well for the back row. In these situations, the sound path is being partially obstructed by the front row of seats.
The solution is to raise the speaker high enough to clear the path of sound but not so high that it blocks the TV or screen. To accomplish this, it’s necessary to both increase the height of the speaker stand and tilt the speaker itself upwards.
There’s no need to replace a functional speaker stand in order to gain a few inches of height: Small feet can be added to the stand to raise it up to the necessary height. If the feet can’t be borrowed from a subwoofer or other device, they can also be custom-built.
Once the speaker has been raised to the appropriate level, it’s time to add a slight tilt to the device’s placement. One way to achieve this tilt is by adding longer feet to the front of the stand instead of adding equal-length feet to both the front and back; this will provide a small amount of tilt to the center speaker. Another way to tilt the speaker is by adding a piece of foam to the front part of the stand’s top.
Although studio foam can be used if it’s available, the standard foam found at most home improvement stores also works well for this purpose. Place the speaker back on the stand after applying the foam: Once the foam compresses, the result will be a 5- to 10-degree tilt in the position of the speaker.
Home theater enthusiasts who want to add a bit of tilt to a speaker and improve its sound at the same time may choose to invest in a set of monitor isolation pads. Placed under a center speaker, these pads provide both the appropriate tilt as well as effective isolation.
Adjustments to the height and tilt of a center channel can be tested using a laser pointer. Simply place the pointer on the top of the speaker and aim at the rows of theater seating. The beam from the pointer should hit the upper row of seating without being obstructed by the front row.
Mounting a Center Channel on the Wall
In some home theater layouts, it makes more sense to mount a center speaker to the wall instead of placing it on a freestanding speaker stand. A wall mount can still be installed to provide the appropriate height and tilt needed for maximum performance. The center channel is usually mounted directly above or below the TV screen; be sure to choose a mount that can support the weight of a center speaker.
Improving Performance
Even when the center channel speaker is positioned correctly within a home theater system, a few simple tweaks may still be necessary to optimize performance. For example, if hollow components of a speaker stand are causing issues with resonance, the hollow areas can be filled with sand to eliminate the problem.
Center channel speakers may also require a bit of extra effort to absorb floor reflections: If a theater room doesn’t have carpeting, a piece of acoustical foam can really help with floor absorption.
Calibrating and configuring each speaker in the home theater system is a minor post-setup task that can make a big difference in performance. After the center speaker has been positioned on its stand, set it to “small” and leave the crossover at 80Hz: This will ensure that low frequencies are sent to the subwoofer. It’s also important to set the distance of all the speakers in the system using the processor’s setup menu.
It’s clear that a center channel speaker plays a key role in the overall sound quality of a home theater system. To get the most out of this critical speaker, give some extra thought to the position and placement of the device. The awesome listening experience provided as a result will make the effort worthwhile.
For a full tutorial of setting up your home theatre, including your center channel speaker, follow the link here
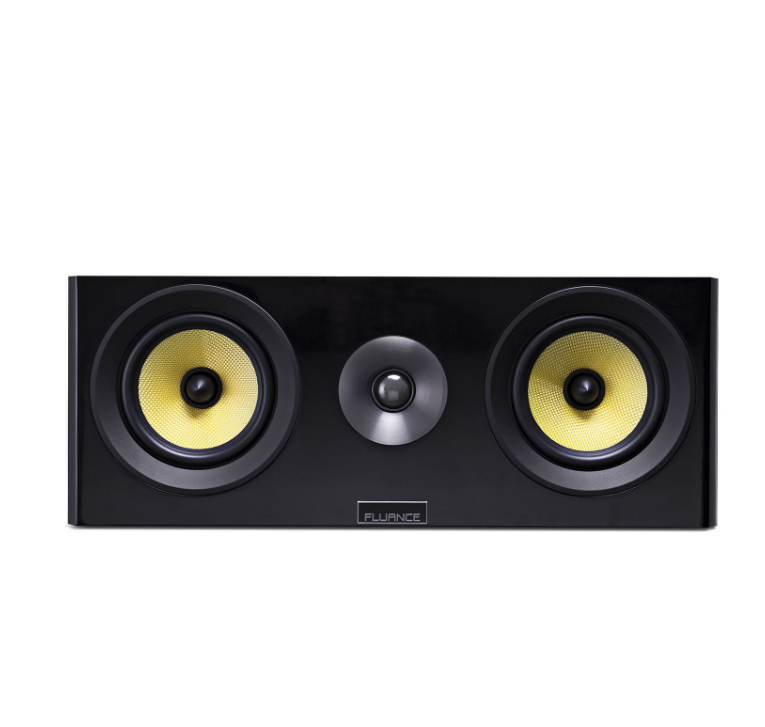
Signature Series HiFi Two-Way Center Channel Speaker
Mastering precision and sonic accuracy, hear the enhanced dialogue and vocals of your favorite music and movies with this high fidelity center channel speaker.
Learn More
Leave a Reply
You must be logged in to post a comment.